
The german optic museum collaborated with my university to get innovative ideas for their new exhibition. My team and me visited the museum for two days and got an overview about the different topics. In there we found a section where it tried to explain the electromagnetic spectrum.

The construction and information design really lacked of a great user experience. To be honest there was no interaction at all, the information texts were boring and too long... it felt really dusty.
But, how can we change that into an exciting and immersive experience?
It was overwhelming how many different types of electromagnetic waves exists and how broad to use cases in our world are. It can be separated into visible and invisible waves. The invisible ranges from radio waves to gamma rays. In between is a small area visible for the human eye, which is known as our colored light spectrum.

With his experiments in the 1666, Isaac Newton found out that white light consists of seven base colors.
We noticed that these kind of experiments have a great potential to introduce non scientist to the theory of electromagnetic waves. So we started to recreate and explore, experiments within this topic.
We wanted the visitors to get active and have fun, while being focused on one topic at the time. So we tested a bunch of different experiments and thought about how we can integrate them into an exhibition flow.


The visitor can start interacting with white light and a prism. A dynamic projection communicates important informations about the active topic. After the seven base colors are gained they can be filtered through different color filters. Enough playing with the filters will turn on the invisible part of the electromagnetic spectrum. But how? Watch the video to get an own impression.

The projection surface has two main functions, it navigates the user through the construction and explains the scientific or historic background at each step. The projector mounted at the ceiling is connected with a laptop where a keynote is open. Depending on which step the visitor is in the construction the laptop opens the matching slide ... of course with the help of our Arduino.

The use of color filters manipulates the visible light and supports the understanding that each color has a certain wavelength. The visitors learn what impact each one and the combination of them has on the light. To show the right information on the projection surface, we notice which filter is in usage through our self build contact system that is connected with the Arduino setup.

To recreate Newton's experiment we needed a light that's similar to the daylight. For this, we hacked an old Kodak slide projector and used the halogen low-voltage lamp as a light source. Because it emits a broad color spectrum when it's refracted.

When the visitor has all color filters in the slots, it turns off the projector and the light source. But at the same time, it triggers a UV-light tube which is located behind the projection surface. Through this, the visitor can see a visual map of the electromagnetic spectrum on a table that wasn't noticed at the beginning.
The visitor can now read more about the different electromagnetic waves. We made the invisible visible.
To create this we needed stencils for the waves and the information texts. Then we sprayed it on the table with a color that's only visible in UV light.

For our construction, it was important to keep track of the visitor's position. So we build different custom triggers for each interactive element. An Arduino Leonardo was programmed to check each element at the same time and then trigger the matching slide on the projector.

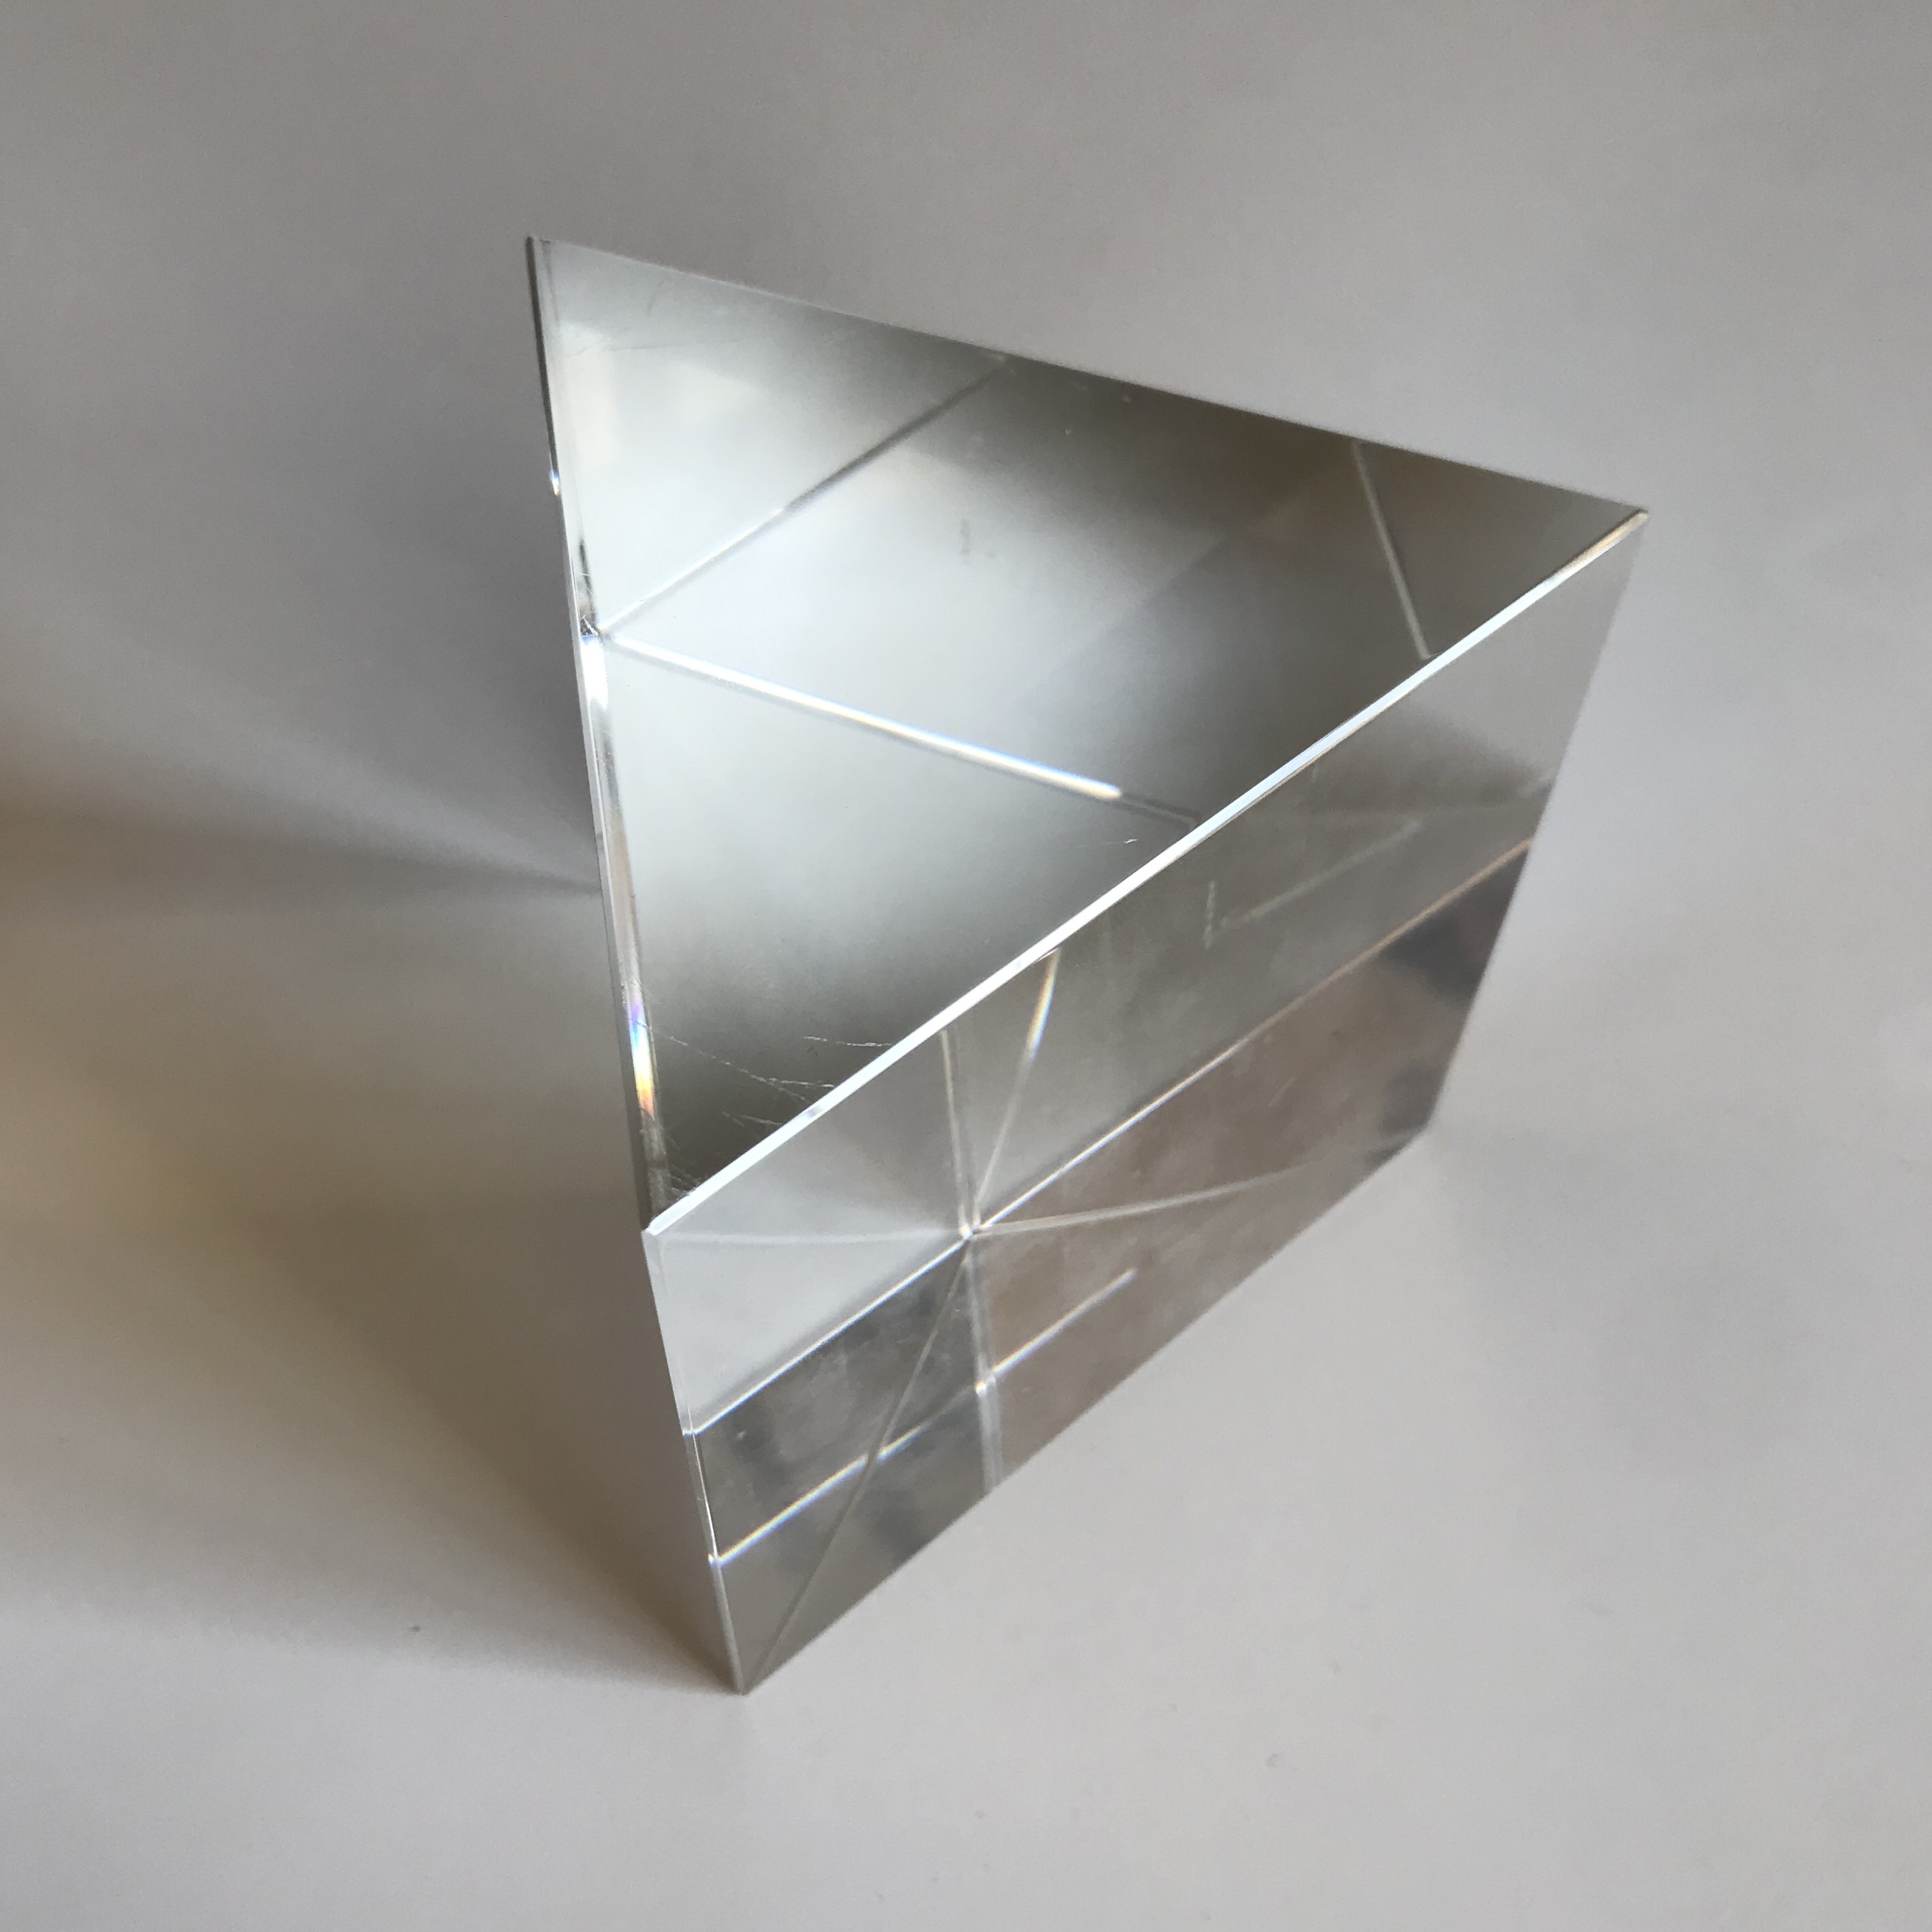
The glassy prism refracts the light when it's incoming from the right angle. The visitors can adjust this angle by playing with the turntable on which it's standing. A magnet underneath the turntable helps to find the right position. When it's in place the projection surface changes the information showing, through the help of our Arduino setup.


The most fun part of the project was the prototyping and the construction. For the final exhibition we needed several parts to work flawless together. Let me walk you through the different parts.
The projection surface has two main functions, it navigates the user through the construction and explains the scientific or historic background at each step. The projector mounted at the ceiling is connected with a laptop where a keynote is open. Depending on which step the visitor is in the construction the laptop opens the matching slide ... of course with the help of our Arduino.
The use of color filters manipulates the visible light and supports the understanding that each color has a certain wavelength. The visitors learn what impact each one and the combination of them has on the light. To show the right information on the projection surface, we notice which filter is in usage through our self build contact system that is connected with the Arduino setup.
To recreate Newton's experiment we needed a light that's similar to the daylight. For this, we hacked an old Kodak slide projector and used the halogen low-voltage lamp as a light source. Because it emits a broad color spectrum when it's refracted.
When the visitor has all color filters in the slots, it turns off the projector and the light source. But at the same time, it triggers a UV-light tube which is located behind the projection surface. Through this, the visitor can see a visual map of the electromagnetic spectrum on a table that wasn't noticed at the beginning.
The visitor can now read more about the different electromagnetic waves. We made the invisible visible.
To create this we needed stencils for the waves and the information texts. Then we sprayed it on the table with a color that's only visible in UV light.
For our construction, it was important to keep track of the visitor's position. So we build different custom triggers for each interactive element. An Arduino Leonardo was programmed to check each element at the same time and then trigger the matching slide on the projector.
The glassy prism refracts the light when it's incoming from the right angle. The visitors can adjust this angle by playing with the turntable on which it's standing. A magnet underneath the turntable helps to find the right position. When it's in place the projection surface changes the information showing, through the help of our Arduino setup.


